Almost everything written about EV chargers is about prices, kilowatts and grants. Almost nobody shows the work. And the work is exactly what separates an installation that lasts years from one that starts causing trouble in its second winter.
So this article is about that: what installing a charging point actually involves, told with photographs of our own installations in Alicante and the Costa Blanca. They are not stock images — they are our jobs, photographed while we were doing them. You will notice the later photos are from a garage and the earlier ones from a villa, because they are not all the same job: we are showing the process, not a single case.
Before quoting: the meter cabinet
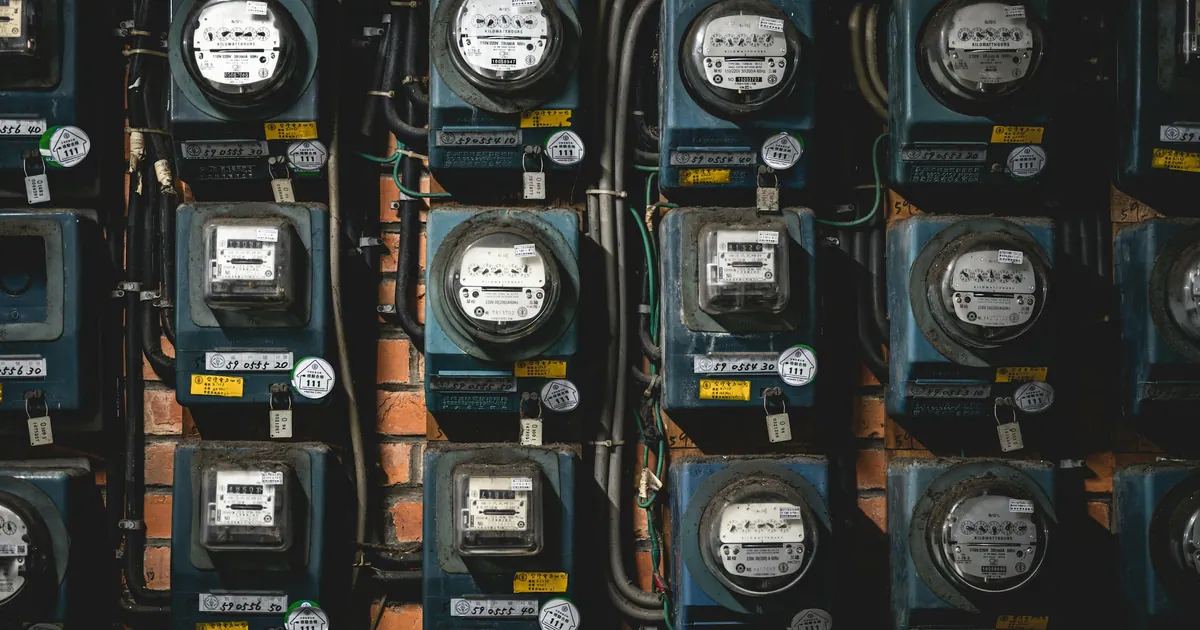
The first visit rarely starts where the customer expects. It does not start at the wall where the charger will go — it starts at the meter cabinet.
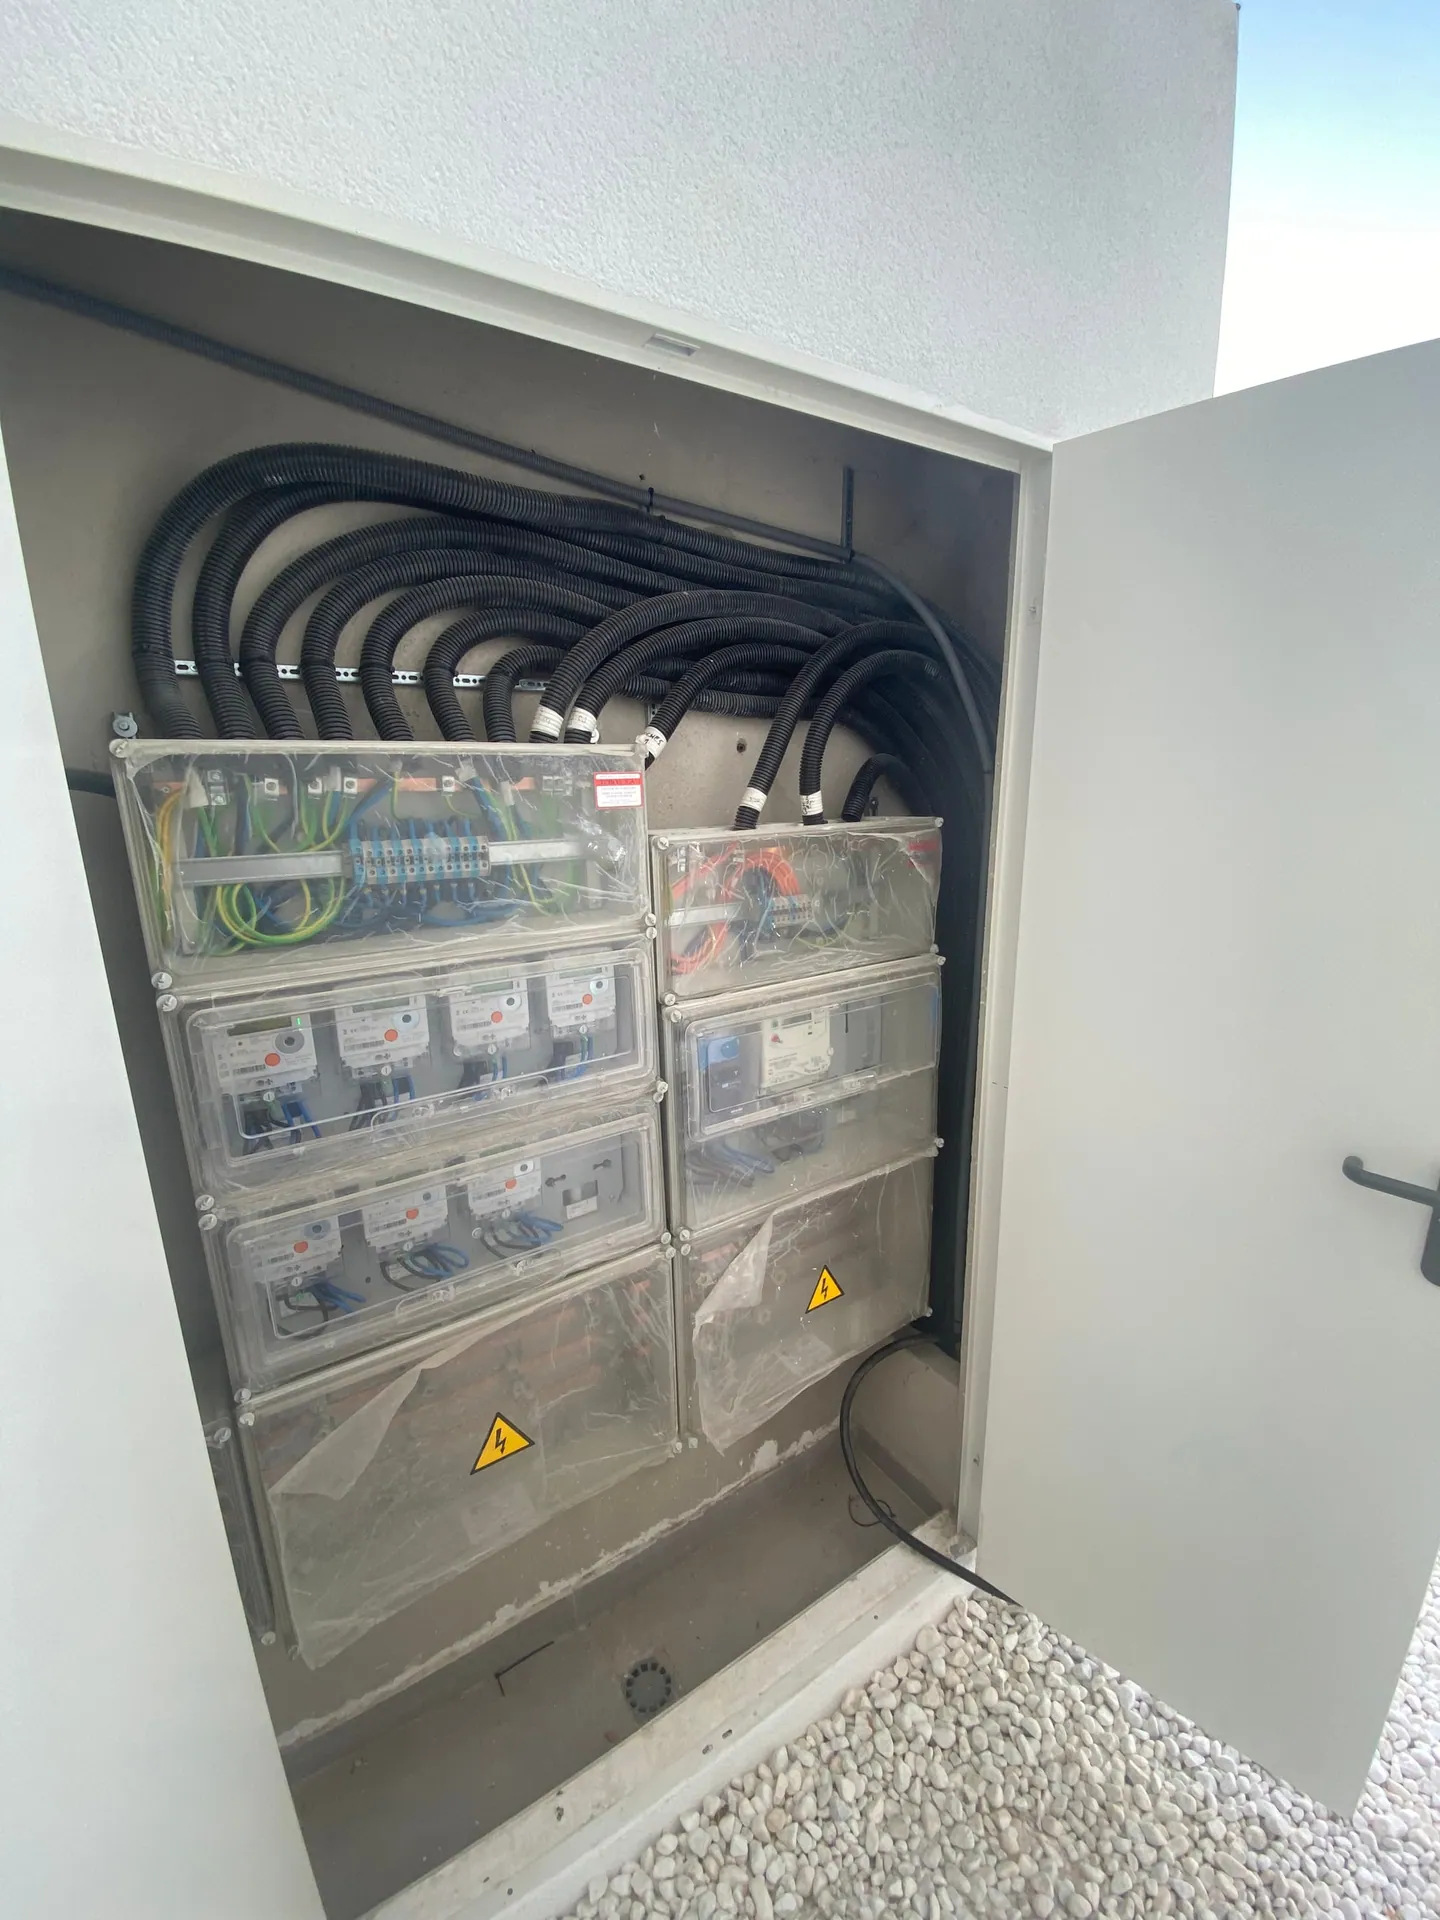
That is where you see what the living room cannot tell you: whether the supply is single- or three-phase, how much contracted power there really is, whether there is physical room for one more protective device, and how the new line can leave without disturbing what is already installed. Look at the fan of corrugated conduits along the top — each one is a dwelling's supply. Adding one more, tidily, is part of the job.
Almost everything else follows from that half hour. A 7.4 kW charger in a home with modest contracted power is not the same project as one where three-phase is available, even if the box on the wall is identical. If you want to understand that decision before we come out, we cover it in which EV charger and what power to choose.
That is why we do not quote over the phone. We quote after seeing this.
The materials arrive before the charger does
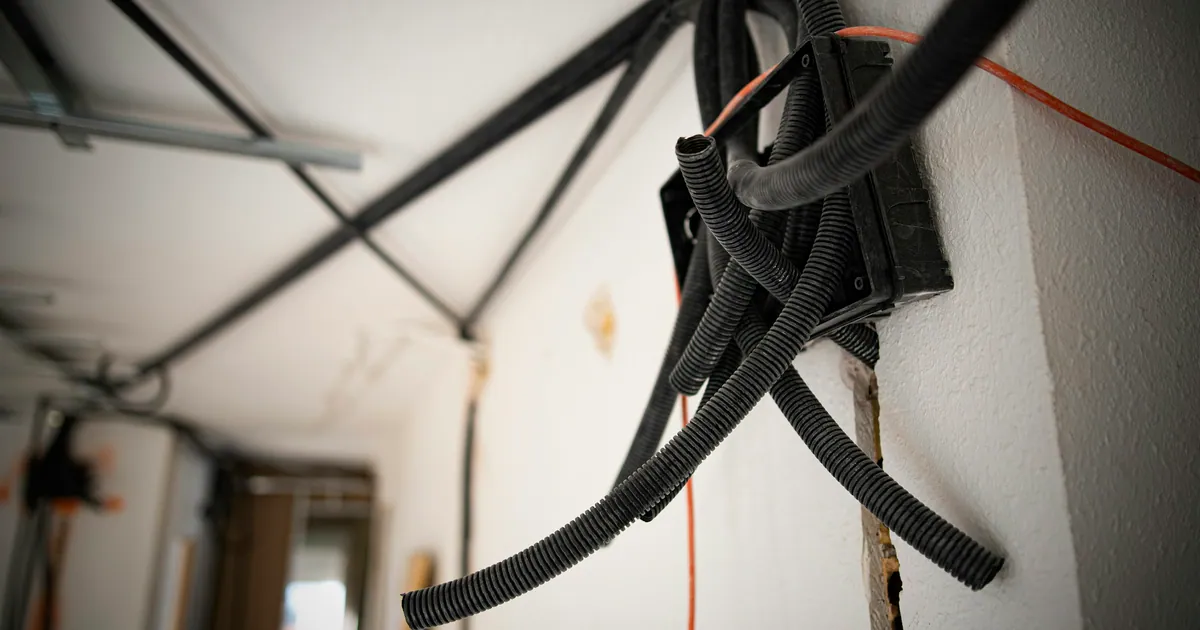
On installation day, the first thing out of the van is not the charger. It is cable.
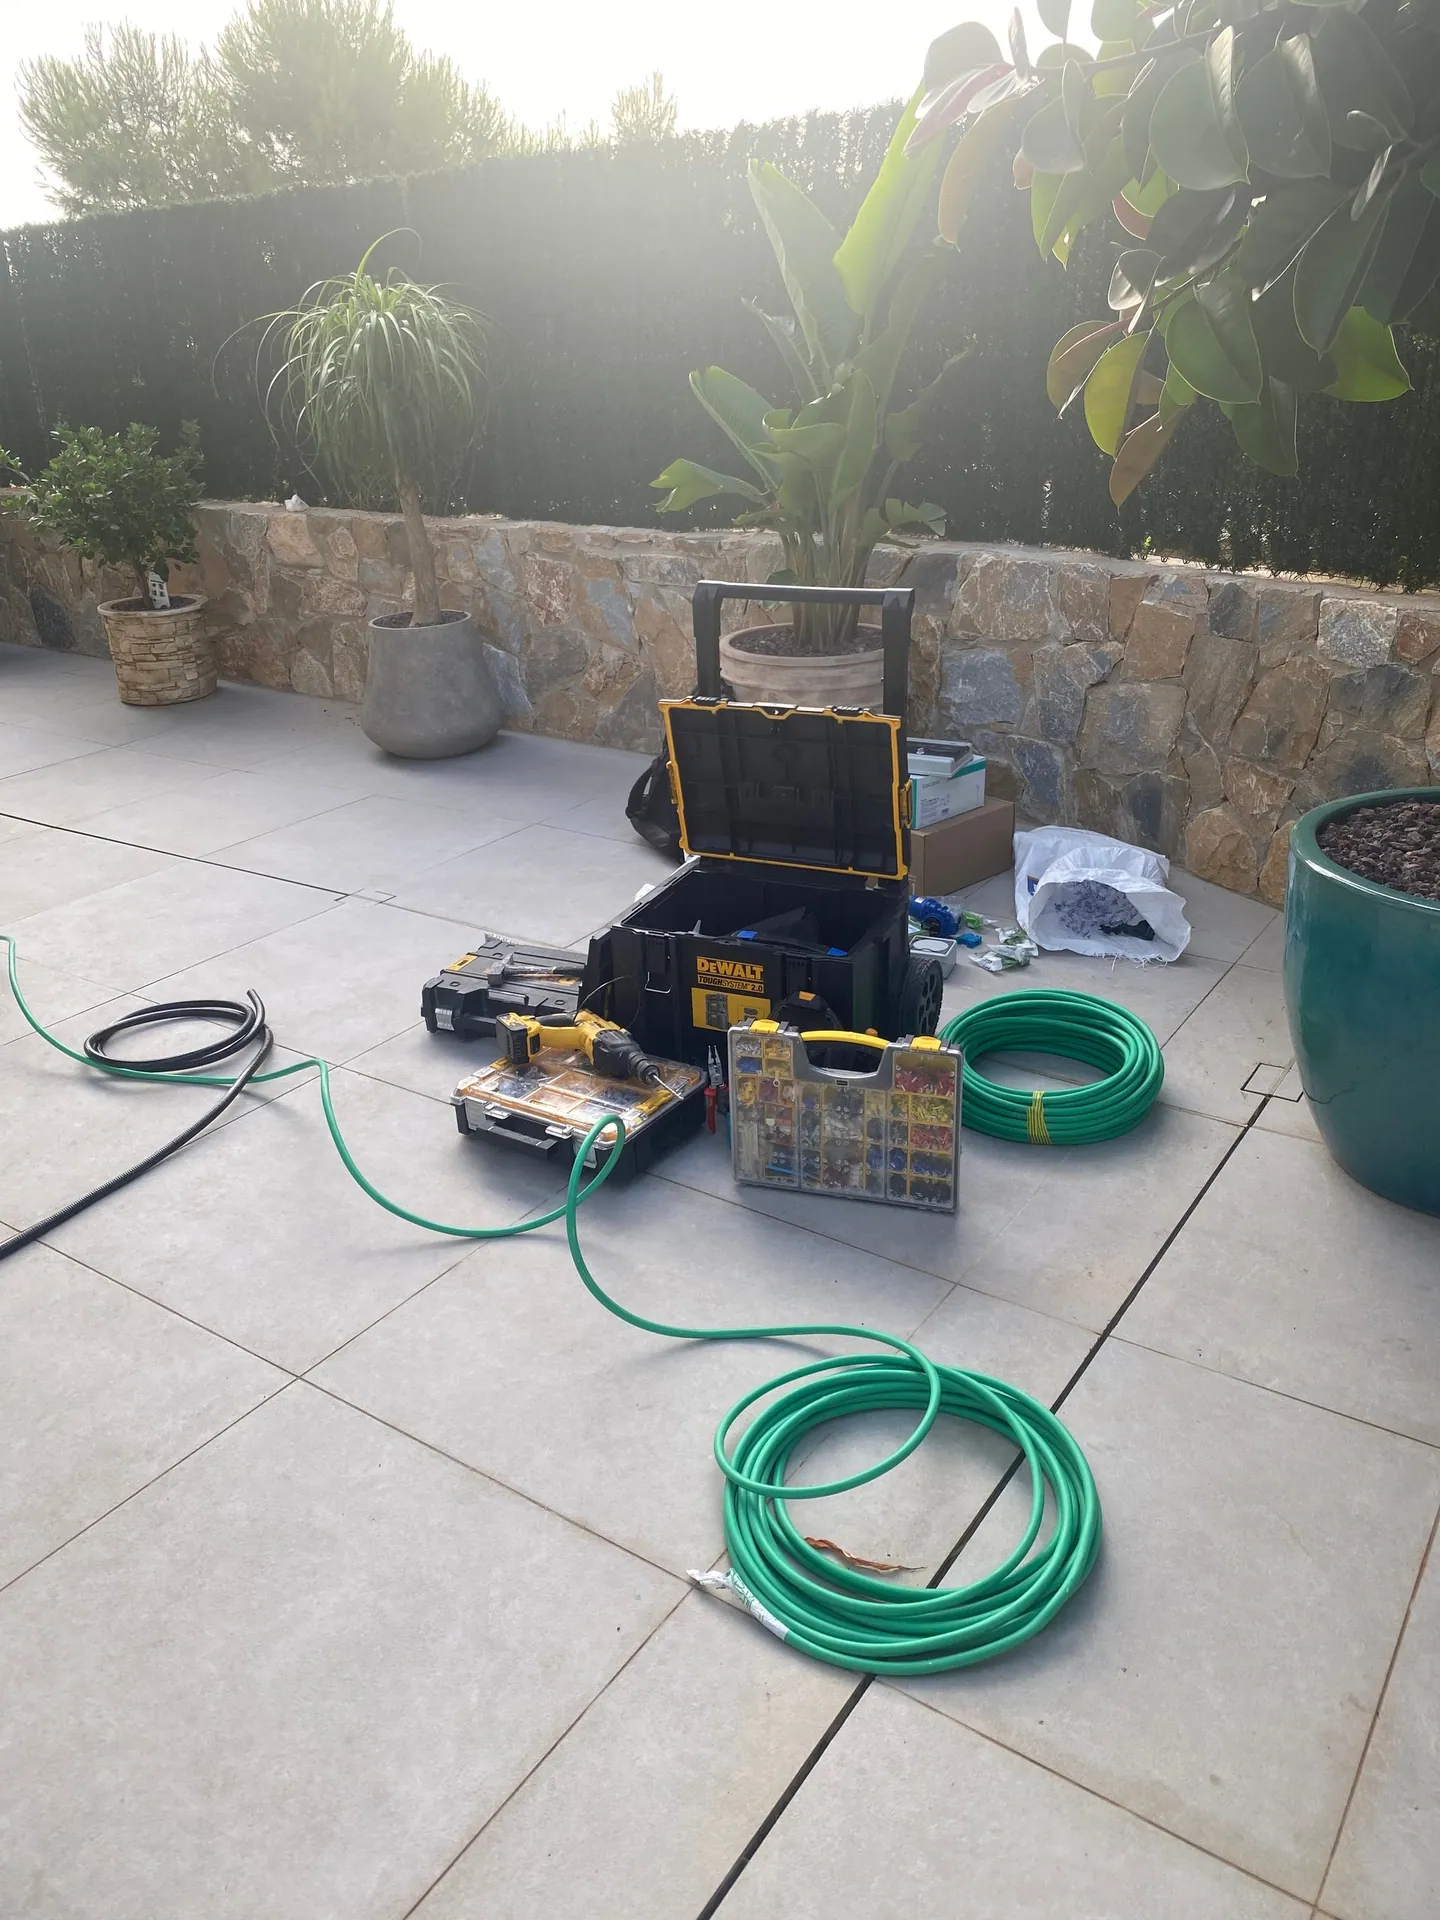
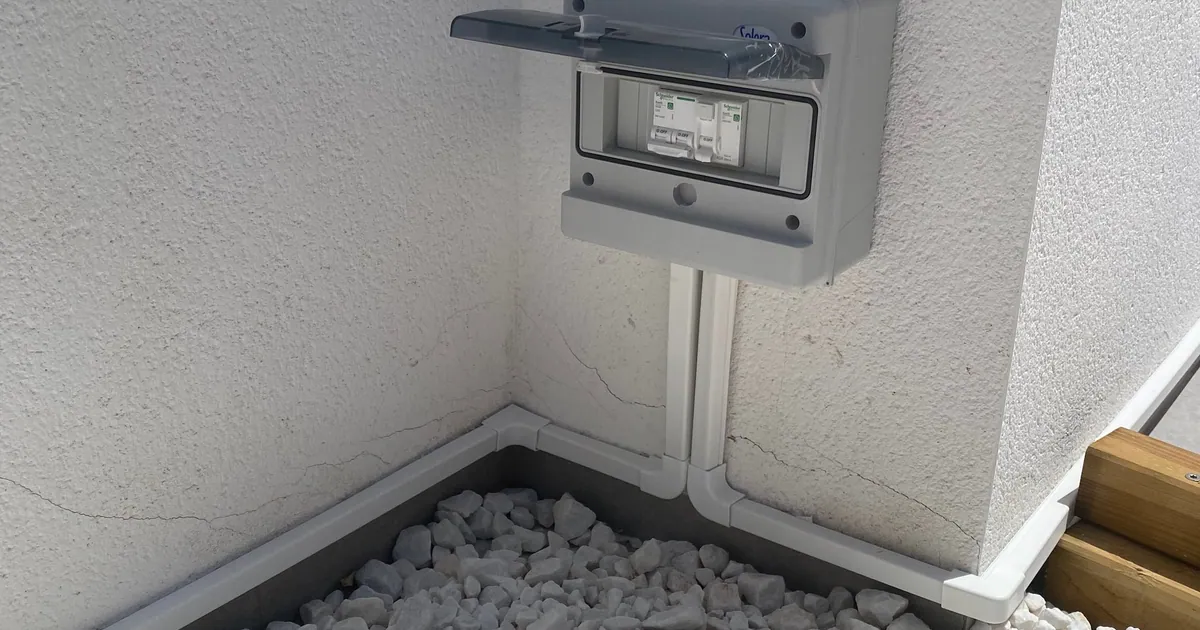
Cable sized for the circuit, an earth conductor, corrugated conduit, boxes, and the power tools. The unit on the wall is the easy part and the cheap part. What you see on that terrace floor is, in both time and money, most of the installation.
It is also why two quotes for "the same charger" can look so different. They are not comparing the charger. They are comparing metres of route, cable cross-section and how it gets contained.
The part that really costs: getting the line there
Between the meter and the car there is a route, and that route is the project.
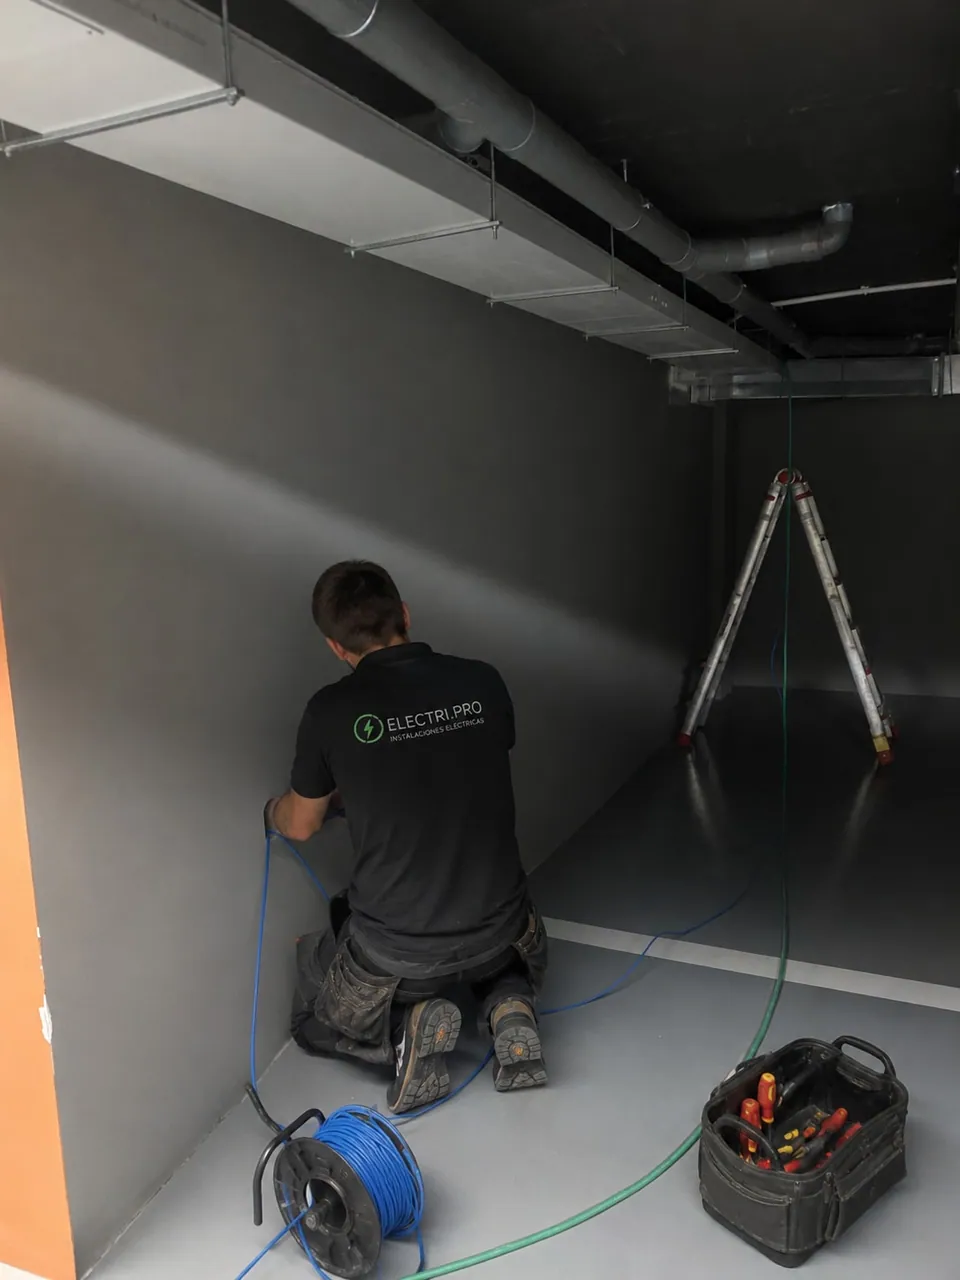
In a garage you have to decide how it runs: using existing tray or containment, surface-clipped along a clean line, or buried where the structure allows. You have to respect the communal area, leave it labelled, and — when the building looks like it will have more electric cars within two years — leave it ready so the next neighbour does not have to undo what we have just done.
In a villa the problem is different: usually distance. Ground, garden, draw pits, and a route that sometimes turns out three times longer than the owner pictured.
This is where an installation genuinely gets cheaper or more expensive, and it is why we insist on the site visit. If your bay is in a communal garage there is also a legal side worth knowing, which we cover in a charger in a communal garage: your rights.
Protections: what never appears in the "after" photo
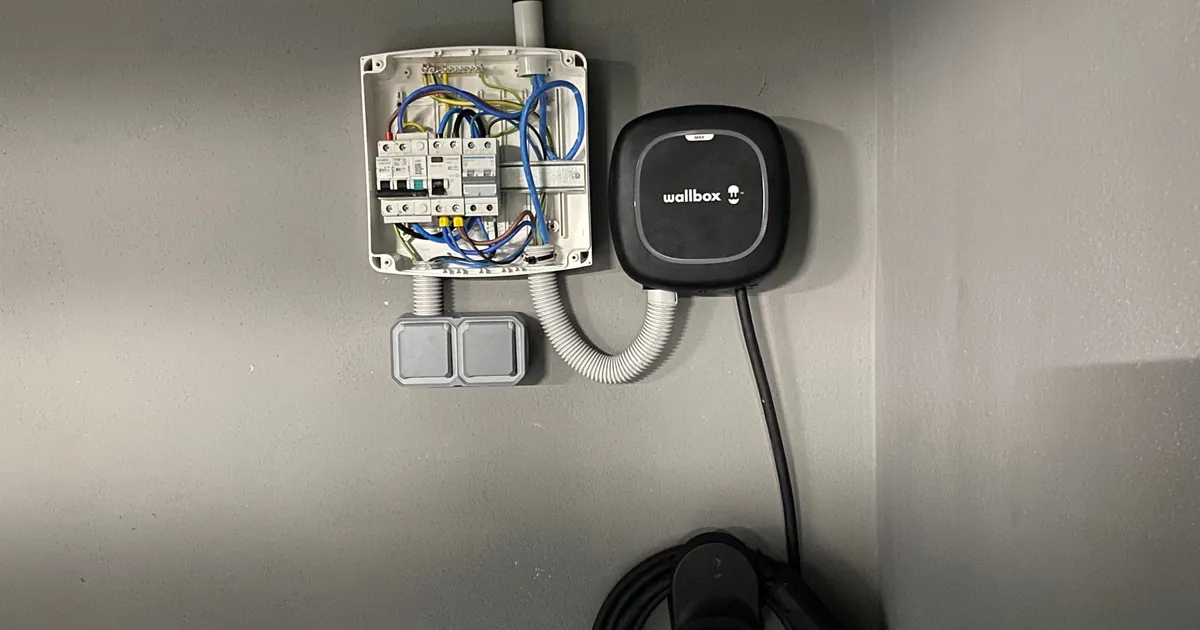
Once the charger is up and looking smart, the important part is in the box next to it.
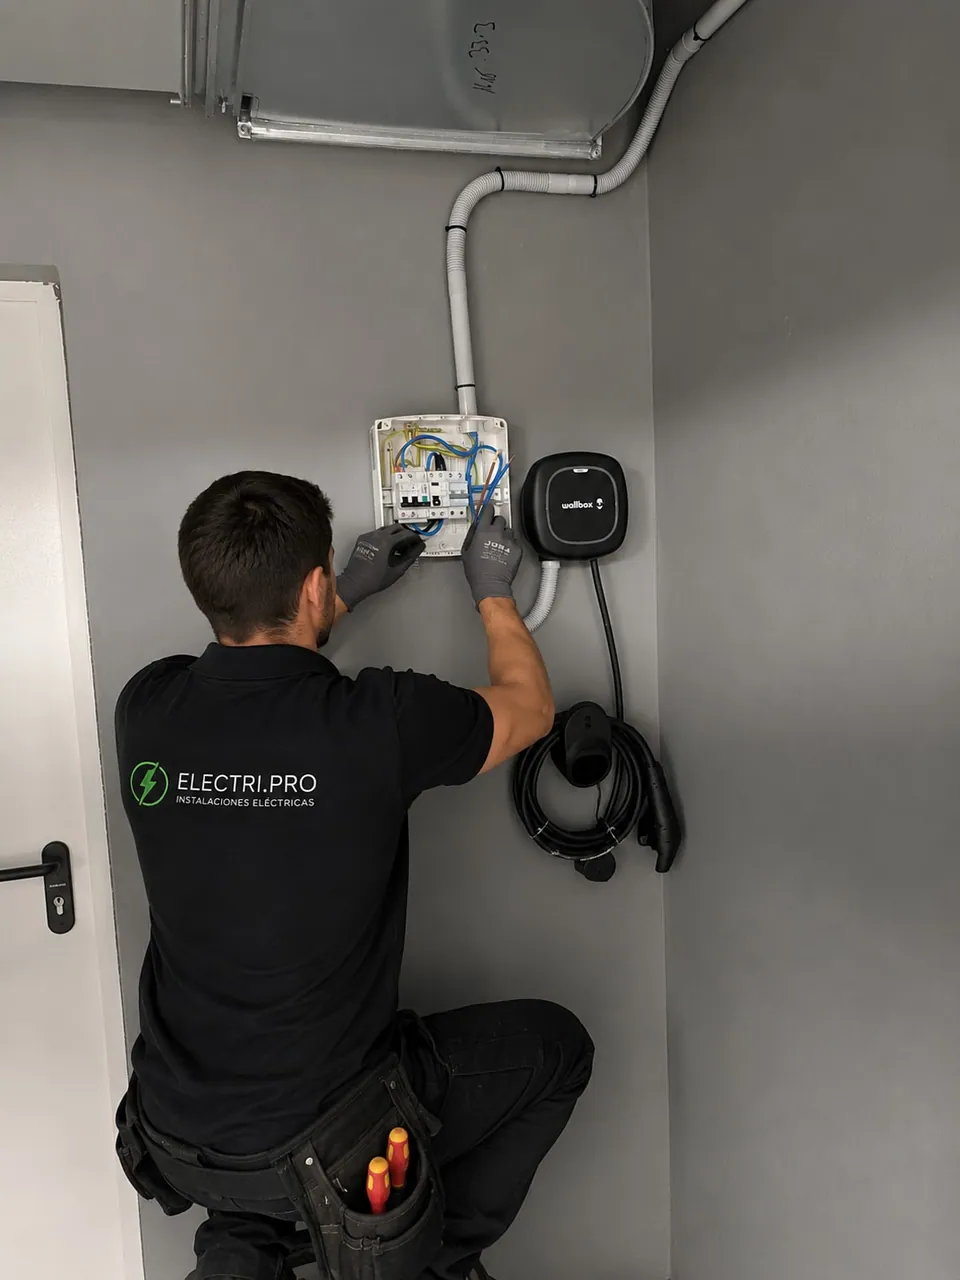
A charging point does not hang off a shared circuit. It gets its own dedicated circuit, with its own overcurrent protection and RCD, sized for a load that may draw for hours on end — which is precisely what makes a charger unlike any other appliance in the house. Charging points normally call for an RCD suited to the kind of leakage current the vehicle's electronics produce, so you avoid nuisance tripping that later gets read as "the charger is broken".
Underneath all of it sits the earthing. In semi-buried coastal garages, with damp and salt in the air, that is not a paperwork detail: it is the difference between an installation that behaves and one that starts giving you frights.
If something ever does fail, that box is also the first place we look during an EV charger repair.
Commissioning and paperwork
With the installation finished, the charger is configured, the real charge is verified against the vehicle, and the appropriate measurements are taken.
Then comes the paperwork, which many people discover too late: an itemised invoice and an installation certificate issued by a registered installer. This is not decorative bureaucracy. It is what you will be asked for if you want to claim the deduction for installing a charging point, and what proves to your building — or to a future buyer — that the work was done properly. We keep what is currently available in the way of support updated in grants for installing a charger in 2026.
What usually complicates an installation
In case it helps you plan ahead, this is what most often changes ours:
- Tight contracted power. The charger fits, but the home cannot carry it with everything else running. Solvable — but it has to be decided beforehand.
- A longer distance than expected. Especially in villas, and in large garages with the bay at the far end.
- Existing containment that is full or unusable. You find that out when the draw wire goes in, not before.
- No free way in the consumer unit. Very common in older properties.
- Communal areas with their own rules. Some buildings limit which routes are acceptable, and you work within that.
- Damp and salt in coastal garages, which drive the choice of enclosures and IP ratings.
None of these is a disaster. All of them are far worse if they surface once the work has started and nobody priced them.
How we start
We come out, look at the meter cabinet and the route, and give you a closed quote with the work explained. The visit commits you to nothing.
You can see the full service at EV charger installation in Alicante, the charging points for communities and garages option, or get in touch and we will take a look.
Want to install a charger at home?
We install EV chargers in Alicante and the Costa Blanca, with installation certificate and a closed quote after the visit.
See EV charger installation